Here is a little DIY my house mates and I did to fill some of the blank walls in our house. Unfortunately I didn't get any pictures in the process of making them, but its pretty easy to do so hopefully pictures won't be necesary! I should give some credit to my house mate Courtney who had the idea of making these!Materials-Wood plaques [you can find them at big craft stores like Joann's. You'll want something like this: http://www.joann.com/walnut-hollow-oak-rectangle-plaque-9-x12-/zprd_10480622a/ (we used a slightly smaller size)] -Fabric in different colors and patterns that go well together-Tacky glue-Staple gun and staples
Step 1: Lay out your pieces of wood in a pattern you like and figure out which fabric you want on each plaque.Step 2: Cut squares out of the fabric that are about 3 inches wider than the wood plaques.Step 3: Staple one edge of the fabric to the underside of the plaque. Step 4: Put a layer of glue all over the edges of the plaque. Stretch the fabric over the plaque, pressing the fabric onto the edge on the side where you stapled the fabric. Stretch the fabric tightly across the plaque and press it onto the edge opposite of the side you already finished. Staple this side. Do the two remaining sides. You will have to fold the corners like you are wrapping a book so that it looks neat. Make sure you use your fingernails to press the fabric down into all of the grooves along the edges.
Do this to all of your plaques and you're done!
Hopefully this makes sense without any pictures. I think in the end all of us ended up doing them in a way that was easiest for us, so you might end up figuring out an easier way to make it look neat.
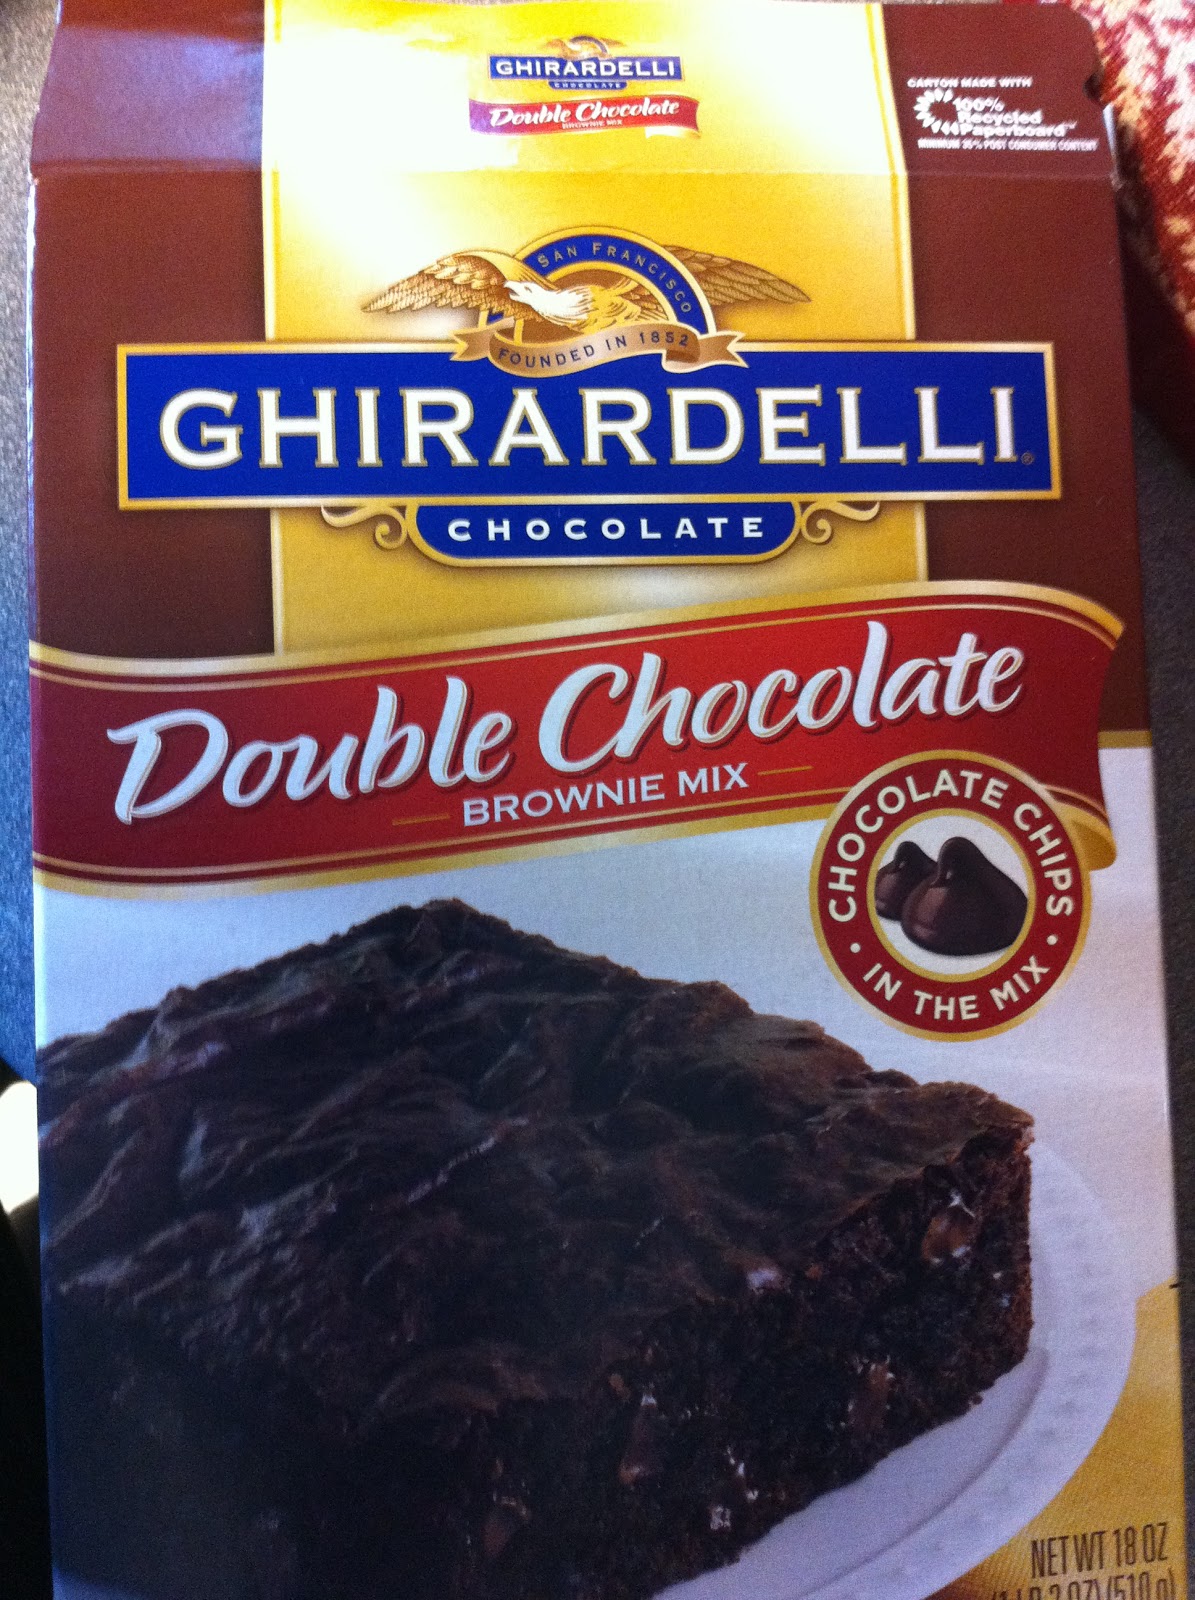
Today I want to share the recipe for the best and easiest treat ever. If you like peanut butter and chocolate (and really, who doesn't?) you will want to make it at least once a week...so beware!Peanut Butter Cup BrowniesIngredients Your favorite chocolate brownie mix (my favorite is Ghiradelli Double Chocolate)Creamy Peanut Butter (preferably Jif or Skippy)Chocolate ChipsPeanut Butter ChipsI think that these are best if you make them in mini cupcake tins...regular sized ones are a bit too intense for me...but do what you want! Preheat the oven to 350˚Follow the directions on the box to make your brownie batter. Fill the cupcake tins (a little more than halfway full).Put the brownies in the oven for 15 minutes. They should be just barely cooked (if you stick a toothpick into them it should come out a little wet).While the brownies cool a bit, put some peanut butter into the microwave (start with about a half a cup for 30-45 seconds). Use a spoon to make small dents in the tops of your brownies. Then put a little dollop of peanut butter into the dent. Its taken me a few times to figure how much to put in--it depends on what you like! I usually put in around a quarter tablespoon.Next, sprinkle both kinds of chips on top. You're done!I, personally, think that they are even better cold so make sure you stick some in the fridge for later!Enjoy! :)