Lace Short DIY

A while back I was flipping through the Free People catalog, looking at all of the pretty things I can't afford.  I came across these shorts, which are way out of my price range.  I realized that I could probably do the same thing with an old pair of jeans and some lace trim.  I tried it out and was so happy with the results.

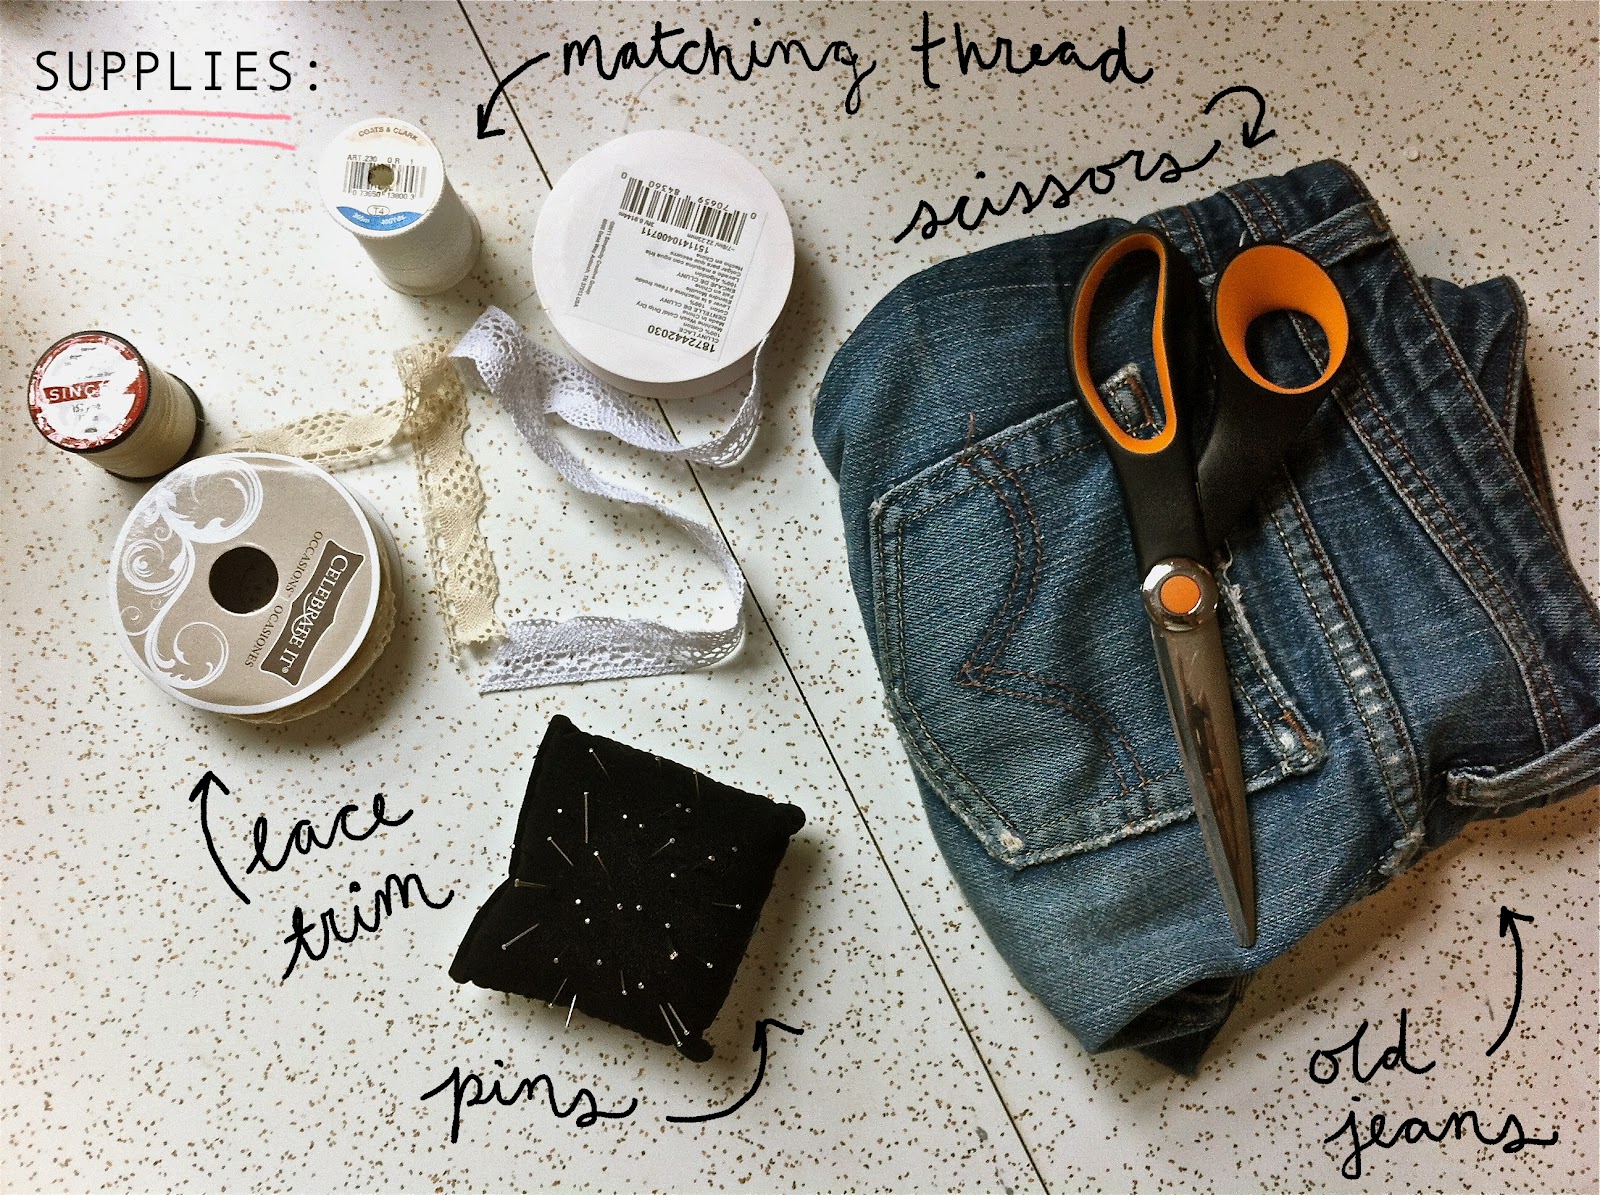
For this project you will need lace trim (or any other kind of trim), thread (make sure it matches your trim), pins, scissors, and an old pair of jeans that you've turned into cut offs.


Some advice for cutting your shorts: 1) start out longer than you think you want the shorts to be 2) use a marker/chalk to mark your jeans where you want to cut them while you have them on.  It is also helpful to use another pair of shorts as a template.


STEP 1: Pin the lace to the edge of your shorts.  The edges of my cut offs were already folded up so I decided to leave a fold, but I think it would also look good without a fold (that was my original plan).  You should experiment a little as you start pinning--does it look better folded/not folded? does it look better with the trim sewed on top/under the edge of the shorts?  This all depends on the trim you're using.  My trim was really thin and I wanted to be able to see the whole design, so I decided to sew it on the top side of the edge (the top of the trim also hid my seam nicely).  Pin the trim down every couple of inches (make sure it's nice and straight!).  When you get to the end leave a bit of extra trim on either end so that it can be folded under at the end (you can always cut off excess trim, but you can't add it back on).  I think it looks best if you make it so that the ends meet at the inner thigh seam of the shorts.


STEP 2: Begin sewing at one end (I used a machine, but I'm sure this would be really easy to hand stitch).  Go slowly to make sure your trim stays straight and doesn't bunch. When I got to the end I just folded the end of the trim under (and tucked the other end under it) before I sewed over it to hide the ends.


STEP 3:  My ends looked a bit awkward at the end, so I decided to hand stitch the two ends together.


This project was so easy and I love the end results...I'm pretty sure I'm going to be doing a few more cut off makeovers this summer!

flower headband DIY and ramblings


I've been home for less than a week and last semester already seems so far away! I'm settling back into being at home (other than the fact that I still haven't really unpacked, therefore my room looks like a hurricane went through it...oops).  Today was my first day of work--for now I'm just doing office work but it's nice to have something to do and to earn a little money before the camp I usually work at starts.  It's so nice to finally have time to start the long list of projects I've been dreaming up over the last semester, and I'm hoping I can maintain this momentum once work/my thesis research get into full swing.  I'm also excited to focus a bit on photography this summer--I've been trying to learn what I can through the internet and have been experimenting with my mom's fancy-shmancy cameras...SO, hopefully you will see some gradual improvement in the photography around here! Anyways, enough of that...

This is another super super easy/inexpensive project that is also perfect for summer.  Your summer wardrobe is incomplete without flower accessories to wear in your hair!

Here's what you need for this project:


I decided to make my headbands with smaller flowers, but I've seen people with headbands with larger flowers that look awesome (I just don't think I could pull it off)...so, if you're all about the dramatics you should use big crazy flowers! (I would love to see pictures if any of you try this!)

Also, if you want to put a little more time and effort into this project you could make your own flowers.  A while back I posted a tutorial for large silk flowers, so you could try using those.  I'm also going to try to throw together a tutorial for making smaller fabric flowers, so that should be coming later this summer.


Just cut individual flowers off of the stems.  Make sure that they're cut pretty close to the base so that they don't stick up too far off of the headband (but also make sure you're not making it so that the whole flower falls apart).  Put hot glue all around the base of the flower and quickly press it onto the headband, holding it in place until the glue is mostly dry.  I attached my flowers so that they were slightly tilted in one direction so that you could see them better from the front while I was wearing it (and so that you couldn't see the headband or glue).  Attach flowers until they cover the whole headband, minus an inch or two at either end.

That's it! I think that these headbands look great with beachy waves or a messy high bun. Here is the final product!:


a playlist to start the summer


Here is a playlist of music I've been listening to lots so far this summer.  I hope you like it!


DIY Earring Display


Hello! I'm so excited it's finally summer, as it means I have so much more time to do fun projects.  It's only my second day home and I've already finished 3 new projects!--that means lots of posts will be coming soon...yay!

This is probably one of the easiest (and cheapest) DIYs I've ever done, but it's super useful and pretty.  My earrings are always getting lost/tangled, so I decided it was time for me to find a better way to store them.  This can also serve as decoration, so it will be useful in filling the walls of my new room next semester!

The only supplies you will need are an embroidery hoop (you can buy wood ones in various sizes for less than a dollar at Michaels), a small piece of lace fabric or other fabric that can be easily penetrated by earring posts (I used an old lace curtain), and scissors.  That's it!


Step 1: Lay your fabric over the embroidery hoop.  Make sure the section you're using doesn't have any imperfections.  If it has a pattern, make sure it is going the way you want it to when its hanging.


Step 2: Push the inner hoop into the outer hoop.  Pull the fabric nice and tight.


Step 3:  Tighten the hoop.  Really, really tight!


Step 4:  Cut off any excess fabric...you're done! Wasn't that easy?


You can hang this on a hook (perhaps with a display of prints/pictures or mirrors like these), or you can just lean it up against the wall.


"Give me the splendid silent sun"

Here is a fun little DIY that I used to make Taylor's birthday present.  It is a great way to showcase your favorite quotes or lyrics in your home.  This project is a little time consuming but not all that difficult.

After I made Taylor's I decided I needed one of my own, so I did the same thing but in reverse.  So, here are two different ways to do this project.

You will need:

-Your favorite quote or lyric (Taylor's is lyrics from his favorite Fleet Foxes song and mine is a line from "Leaves of Grass" by Walt Whitman)
-A canvas (what I used)/poster board/piece of wood/whatever flat surface you want your quote on
-Paint and paintbrushes
-Letter stickers (you can buy them in different sizes and styles at your local Joanns/Michaels)
-If you are doing the second style you will need white (or you could also try another color!) spray paint

First, the one I made for Taylor:


Step 1: Cut out all of the letters you will need for your quote/lyric and lay them out on your canvas so you can figure out how they will fit best.  If you run out of letters and don't want to go back to the store (as I did in the second version) then you can try cutting a few of the letters out of painters tape or forming them out of other letters.


Step 2: Stick your letters onto the canvas 
 Step 3: Paint over the letters.  You can try any design you want.  I went with a simple sun design since the quote is about the sun.  I contemplated other more complicated paintings but I decided that simple would be best.  Unfortunately I had some problems with my letters not sticking well to the canvas.  I think it might be because the letters I had were ones that are meant to be moved around.  If you have the same problem, no need to worry! I just held down the letters and painted over them carefully.  If you mess up a little bit it can be fixed later with a little white paint.

Step 4: After the paint has dried, carefully peel off all of the letters


Step 5:  Use white paint and a small brush to fix any imperfections.  You're done! 


 Next, the one I made for myself.  This is basically the reverse of what I did for Taylor's.


Step 1: Paint your design on the canvas. It can really be anything.  If your quote really fills up the canvas well and you have artistic skillz (yes, with a 'z') you could paint something more intricate.  I originally painted a bunch of little dots in different colors but I was lazy and didn't put enough planning into how I did it/the colors weren't quite right so I decided to paint over it.  You can still kind of see the texture of the old design, but I actually really like how it looks.  I settled with a sunset design again since the quote is about the sun (apparently I've been super into the sun lately??...might be something to do with the rainy Portland weather).


Step 2: Cut out all of the letters you will need for your quote/lyric and lay them out on your canvas so you can figure out how they will fit best. For this version I think its best if you choose a longer quote and fill up as much of the canvas as you can (I wish that I had used a smaller canvas--oh well, next time!).  On this one I also ended up using some thin washi tape to fill up the empty space at the top and bottom of the canvas.


 Step 3:  Stick your letters to the canvas


Step 4: Find a well ventilated area and put your canvas on top of newspapers/something you don't mind turning white.  Spray paint your canvas.  Make sure you are doing it straight down onto the canvas, not at an angle so the paint doesn't sneak under the letter stickers.  You will definitely have to do multiple layers.  Let the paint dry between layers.


Step 5:  Once your canvas is thoroughly spray painted and dry peel off all of the letters.  You're done! 


Have fun!

Decor DIY

Here is a little DIY my house mates and I did to fill some of the blank walls in our house.  Unfortunately I didn't get any pictures in the process of making them, but its pretty easy to do so hopefully pictures won't be necesary! 


I should give some credit to my house mate Courtney who had the idea of making these!

Materials

-Wood plaques [you can find them at big craft stores like Joann's. You'll want something like this: http://www.joann.com/walnut-hollow-oak-rectangle-plaque-9-x12-/zprd_10480622a/  (we used a slightly smaller size)]
-Fabric in different colors and patterns that go well together
-Tacky glue
-Staple gun and staples


Step 1:  Lay out your pieces of wood in a pattern you like and figure out which fabric you want on each plaque.
Step 2:  Cut squares out of the fabric that are about 3 inches wider than the wood plaques.
Step 3:  Staple one edge of the fabric to the underside of the plaque.
Step 4: Put a layer of glue all over the edges of the plaque.  Stretch the fabric over the plaque, pressing the fabric onto the edge on the side where you stapled the fabric.  Stretch the fabric tightly across the plaque and press it onto the edge opposite of the side you already finished.  Staple this side.  Do the two remaining sides.  You will have to fold the corners like you are wrapping a book so that it looks neat.  Make sure you use your fingernails to press the fabric down into all of the grooves along the edges.  


Do this to all of your plaques and you're done!


Hopefully this makes sense without any pictures.  I think in the end all of us ended up doing them in a way that was easiest for us, so you might end up figuring out an easier way to make it look neat.

The Best Treat Ever

Today I want to share the recipe for the best and easiest treat ever.  If you like peanut butter and chocolate (and really, who doesn't?) you will want to make it at least once a week...so beware!


Peanut Butter Cup Brownies

Ingredients
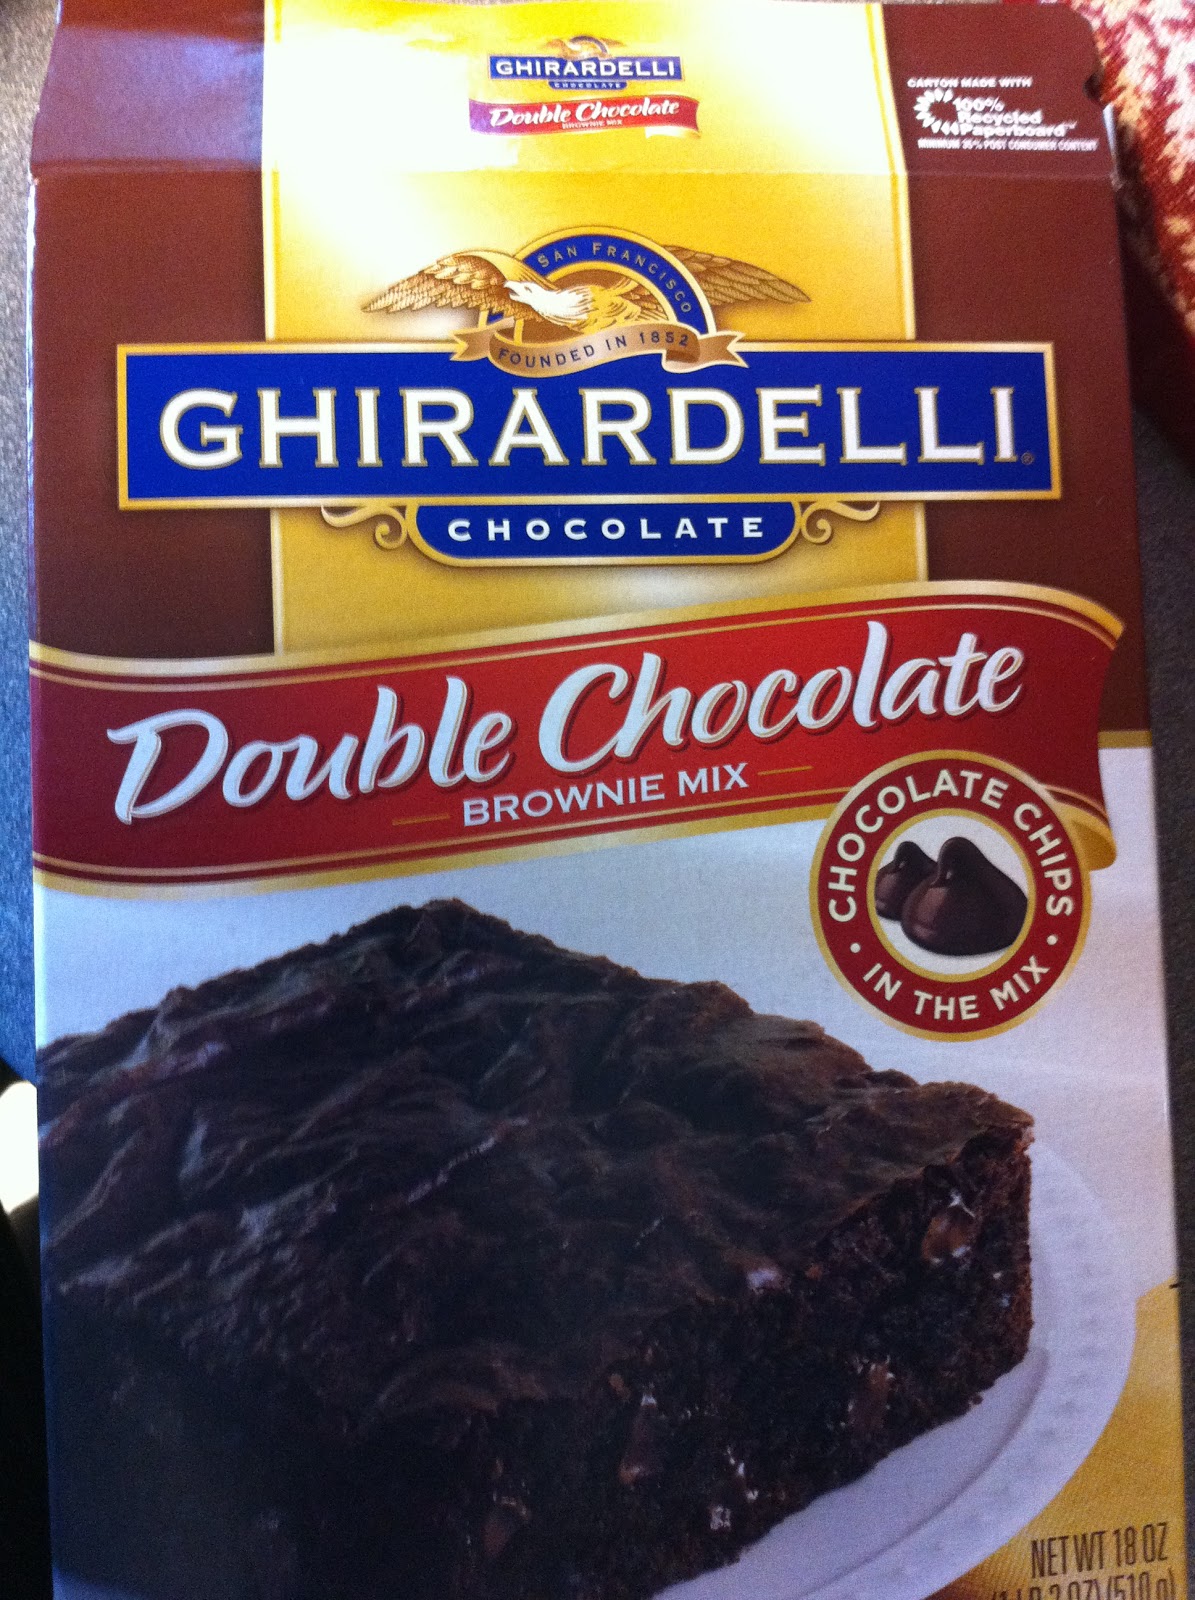
Your favorite chocolate brownie mix (my favorite is Ghiradelli Double Chocolate)
Creamy Peanut Butter (preferably Jif or Skippy)
Chocolate Chips
Peanut Butter Chips

I think that these are best if you make them in mini cupcake tins...regular sized ones are a bit too intense for me...but do what you want!

Preheat the oven to 350˚

Follow the directions on the box to make your brownie batter.  Fill the cupcake tins (a little more than halfway full).

Put the brownies in the oven for 15 minutes.  They should be just barely cooked (if you stick a toothpick into them it should come out a little wet).

While the brownies cool a bit, put some peanut butter into the microwave (start with about a half a cup for 30-45 seconds).  Use a spoon to make small dents in the tops of your brownies.  Then put a little dollop of peanut butter into the dent.  Its taken me a few times to figure how much to put in--it depends on what you like! I usually put in around a quarter tablespoon.

Next, sprinkle both kinds of chips on top.  You're done!


I, personally, think that they are even better cold so make sure you stick some in the fridge for later!

Enjoy! :)