"Give me the splendid silent sun"

Here is a fun little DIY that I used to make Taylor's birthday present.  It is a great way to showcase your favorite quotes or lyrics in your home.  This project is a little time consuming but not all that difficult.

After I made Taylor's I decided I needed one of my own, so I did the same thing but in reverse.  So, here are two different ways to do this project.

You will need:

-Your favorite quote or lyric (Taylor's is lyrics from his favorite Fleet Foxes song and mine is a line from "Leaves of Grass" by Walt Whitman)
-A canvas (what I used)/poster board/piece of wood/whatever flat surface you want your quote on
-Paint and paintbrushes
-Letter stickers (you can buy them in different sizes and styles at your local Joanns/Michaels)
-If you are doing the second style you will need white (or you could also try another color!) spray paint

First, the one I made for Taylor:


Step 1: Cut out all of the letters you will need for your quote/lyric and lay them out on your canvas so you can figure out how they will fit best.  If you run out of letters and don't want to go back to the store (as I did in the second version) then you can try cutting a few of the letters out of painters tape or forming them out of other letters.


Step 2: Stick your letters onto the canvas 
 Step 3: Paint over the letters.  You can try any design you want.  I went with a simple sun design since the quote is about the sun.  I contemplated other more complicated paintings but I decided that simple would be best.  Unfortunately I had some problems with my letters not sticking well to the canvas.  I think it might be because the letters I had were ones that are meant to be moved around.  If you have the same problem, no need to worry! I just held down the letters and painted over them carefully.  If you mess up a little bit it can be fixed later with a little white paint.

Step 4: After the paint has dried, carefully peel off all of the letters


Step 5:  Use white paint and a small brush to fix any imperfections.  You're done! 


 Next, the one I made for myself.  This is basically the reverse of what I did for Taylor's.


Step 1: Paint your design on the canvas. It can really be anything.  If your quote really fills up the canvas well and you have artistic skillz (yes, with a 'z') you could paint something more intricate.  I originally painted a bunch of little dots in different colors but I was lazy and didn't put enough planning into how I did it/the colors weren't quite right so I decided to paint over it.  You can still kind of see the texture of the old design, but I actually really like how it looks.  I settled with a sunset design again since the quote is about the sun (apparently I've been super into the sun lately??...might be something to do with the rainy Portland weather).


Step 2: Cut out all of the letters you will need for your quote/lyric and lay them out on your canvas so you can figure out how they will fit best. For this version I think its best if you choose a longer quote and fill up as much of the canvas as you can (I wish that I had used a smaller canvas--oh well, next time!).  On this one I also ended up using some thin washi tape to fill up the empty space at the top and bottom of the canvas.


 Step 3:  Stick your letters to the canvas


Step 4: Find a well ventilated area and put your canvas on top of newspapers/something you don't mind turning white.  Spray paint your canvas.  Make sure you are doing it straight down onto the canvas, not at an angle so the paint doesn't sneak under the letter stickers.  You will definitely have to do multiple layers.  Let the paint dry between layers.


Step 5:  Once your canvas is thoroughly spray painted and dry peel off all of the letters.  You're done! 


Have fun!

Decor DIY

Here is a little DIY my house mates and I did to fill some of the blank walls in our house.  Unfortunately I didn't get any pictures in the process of making them, but its pretty easy to do so hopefully pictures won't be necesary! 


I should give some credit to my house mate Courtney who had the idea of making these!

Materials

-Wood plaques [you can find them at big craft stores like Joann's. You'll want something like this: http://www.joann.com/walnut-hollow-oak-rectangle-plaque-9-x12-/zprd_10480622a/  (we used a slightly smaller size)]
-Fabric in different colors and patterns that go well together
-Tacky glue
-Staple gun and staples


Step 1:  Lay out your pieces of wood in a pattern you like and figure out which fabric you want on each plaque.
Step 2:  Cut squares out of the fabric that are about 3 inches wider than the wood plaques.
Step 3:  Staple one edge of the fabric to the underside of the plaque.
Step 4: Put a layer of glue all over the edges of the plaque.  Stretch the fabric over the plaque, pressing the fabric onto the edge on the side where you stapled the fabric.  Stretch the fabric tightly across the plaque and press it onto the edge opposite of the side you already finished.  Staple this side.  Do the two remaining sides.  You will have to fold the corners like you are wrapping a book so that it looks neat.  Make sure you use your fingernails to press the fabric down into all of the grooves along the edges.  


Do this to all of your plaques and you're done!


Hopefully this makes sense without any pictures.  I think in the end all of us ended up doing them in a way that was easiest for us, so you might end up figuring out an easier way to make it look neat.

The Best Treat Ever

Today I want to share the recipe for the best and easiest treat ever.  If you like peanut butter and chocolate (and really, who doesn't?) you will want to make it at least once a week...so beware!


Peanut Butter Cup Brownies

Ingredients
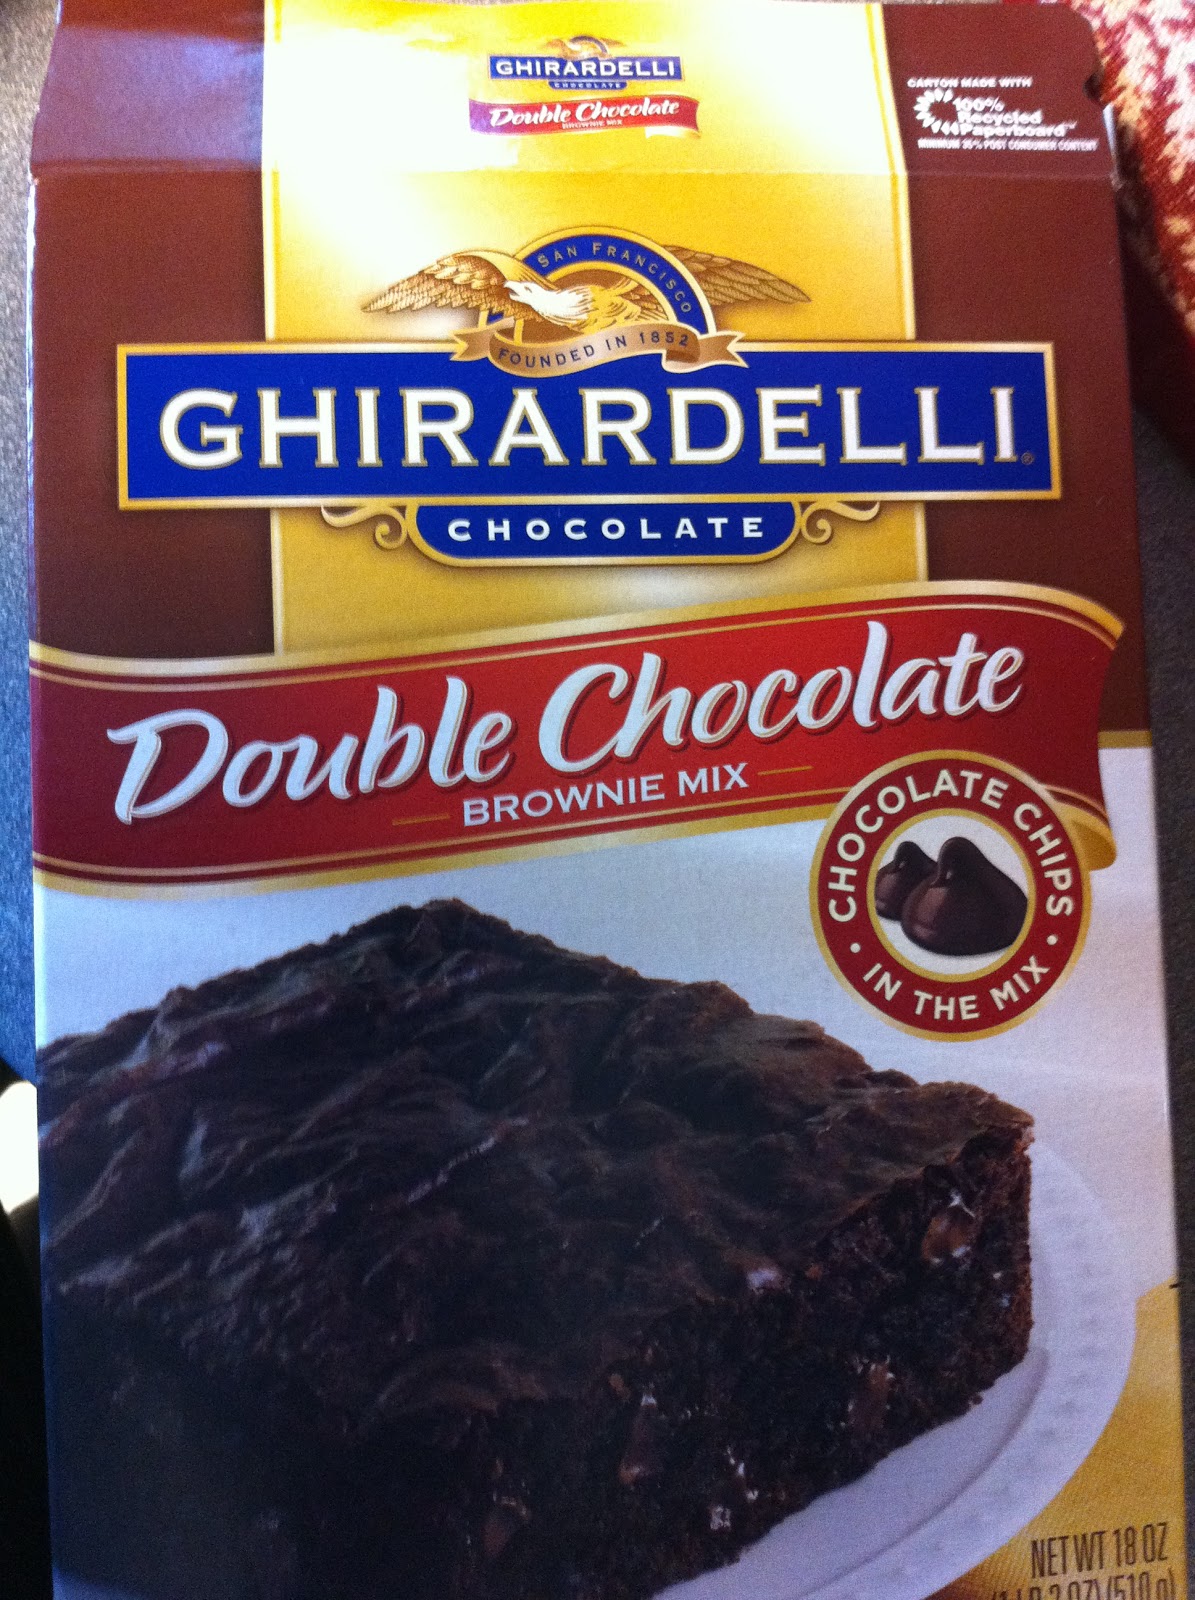
Your favorite chocolate brownie mix (my favorite is Ghiradelli Double Chocolate)
Creamy Peanut Butter (preferably Jif or Skippy)
Chocolate Chips
Peanut Butter Chips

I think that these are best if you make them in mini cupcake tins...regular sized ones are a bit too intense for me...but do what you want!

Preheat the oven to 350˚

Follow the directions on the box to make your brownie batter.  Fill the cupcake tins (a little more than halfway full).

Put the brownies in the oven for 15 minutes.  They should be just barely cooked (if you stick a toothpick into them it should come out a little wet).

While the brownies cool a bit, put some peanut butter into the microwave (start with about a half a cup for 30-45 seconds).  Use a spoon to make small dents in the tops of your brownies.  Then put a little dollop of peanut butter into the dent.  Its taken me a few times to figure how much to put in--it depends on what you like! I usually put in around a quarter tablespoon.

Next, sprinkle both kinds of chips on top.  You're done!


I, personally, think that they are even better cold so make sure you stick some in the fridge for later!

Enjoy! :)

My life lately--Instagram Edition

I thought that it would be fun to show my week through Instagram.  I got an iPhone right before coming to school...and I've got to say, I'm pretty obsessed with Instagramming...
But, it's a good thing! -- One of my New Years Resolutions was to document my life better through pictures (I realized that there have been so many special times over the last couple of years that I never captured).  So far I'm doing well with this goal thanks to Instagram!
Unfortunately my other goals --- ex: posting on this blog consistently -- are not going so well.  But I am trying!  Life is so busy...

Last Friday was a beautiful crisp, sunny day so my housemate Caroline and I decided to go walk around Sellwood [Note: this is now...a couple of fridays ago...I kind of forgot about this post sitting in my draft box...this lovely weather has since moved on :( ]


We went to a bunch of fun antique stores and a little store with lots of fun letterpress stuff.


And then we found a craft supply store.  We went in saying we wouldn't buy anything...but as you can see from this picture we failed.

That evening we decided to go to this really cool theater where they have an arcade and really really cheap movies.


Saturday morning we made french toast with fresh bread from a bakery in Sellwood.

Sunday night we made a family dinner--caramelized onion risotto and salad.  It was so yummy!


The rest of the week was filled with lots and lots of homework...


In between essays/reading/studying we took breaks for coffee and tea...


After a busy week we all pulled out our craft boxes and made valentines.  Even Will joined in! :)


and suddenly there was music everywhere.

Hello friends!

I made a playlist just for you!


This is a bit of music that I have discovered recently or am listening to currently.  I hope you like it!


"Don't you hear it? she asked & I shook my head no & then she started to dance & suddenly there was music everywhere & it went on for a very long time & when I finally found words all I could say was thank you."
-Story People

Look who was here!!

Look who came for a quick little visit!


Though it was quick Taylor and I had a great visit--it was so nice to show him my life here so he knows what I'm talking about all the time on Skype!
After we settled into our hotel I brought Taylor to meet my host family.  This could have been extremely awkward seeing as he speaks zero spanish, but it turned out being really fun--my host mom asked him questions through me and my host brother entertained us by showing Taylor all of his toys (and just being adorable as usual...).  We spent the rest of the day exploring the colonial zone and the Conde (a big street in the colonial zone where there are lots of stores, restaurants, bars, clubs, etc).
The next day after grabbing some breakfast we headed to Juan Dolio--when we arrived at our hotel it promptly started raining and the street began to transform into a large river.  A chain of not so exciting/wonderful events followed (a jail-esque hotel room, possible kerosene leaks, closed restaurants, etc) and in the morning we decided that juan dolio is not so great when its raining (its basically a little town that attempted to develop into a tourist spot but that isn't really nice enough to survive--so now theres just a bunch of depressing abandoned half-built resorts)...so we hopped on (and squished into) a guagua back to Santo Domingo.  Best decision we could have made!  Once back in the city we found a hotel in a really cool old colonial building and then set off to find lunch.  Taylor got to have his first true guagua ride to get to his first true dominican meal! It was a success :) For the rest of the day we wandered around, went to the "mercado modelo", and then went to Plaza EspaƱa (where there was some sort of cultural event/musical happening) and had a yummy dinner!
Though everything didn't go as I had planned the weekend ended up being perfect :)


In other news: I've successfully completed one of my dominican college classes! I had my final for my Dominican Migrations class on Thursday and now I'm DONE! It's very exciting :) 
Also, a few weeks ago my friend Lucy and I rescued 3 kittens that some one had left to die on the street (unfortunately one was already dead :( ).  Two of them died within the first few days (our program supervisor is soso wonderful and took them in for us since there was nothing we could do), but one of them survived and is doing well! We went to visit him today and he's getting bigger and has much more energy and is SO cute! When I get some pictures I'll post them!
Other than that there's nothing big to share--it's strange how familiar life here is becoming! I've gotten into a routine and my family, the food, the city is all becoming so normal. It's nice :)

My host brother

Here's a little video of my host brother dancing to cell phone music. He loves making videos of himself!


Also, here is a song that I forgot to put on the dominican music mix!


more later!
xoxo